Installation Instructions for PowerSchool Plugins
A PowerSchool Plugin is typically developed by a 3rd party company to enhance your PowerSchool operations. It can be used to customize your PowerSchool instance, sync data between two systems, setup a simple SSO link between two systems, or create new exports. They are a powerful tool to create a better experience for your users.
A Plugin is either just 1 xml file, or it can be a compressed (.zip) package of a series of files, depending on the complexity of the plugin. If it contains page customizations, it will have a series of files. If it is simply used for data access or an SSO link, it may just contain the single plugin.xml file.
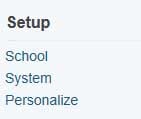
1 To Install the plugin file or package, login to the admin side of PowerSchool. On the left hand side, under Setup, select System:

2 On the System page, scroll down to the Server section, and select System Settings:

3 On the System Settings page, select Plugin Management Configuration:

4 On the Plugin Management Dashboard, select Install on the top right of the page.

5 From the Plugin Install page, select Browse and select your plugin.xml file or your compressed (.zip) plugin package.

6 Select Install, and the package will install. If it installs properly, it will take you to the Plugin Management Dashboard with a green bar stating it installed successfully.

7 However, the plugin still needs to be Enabled. To enable the plugin, select the check box on the same line as the plugin:

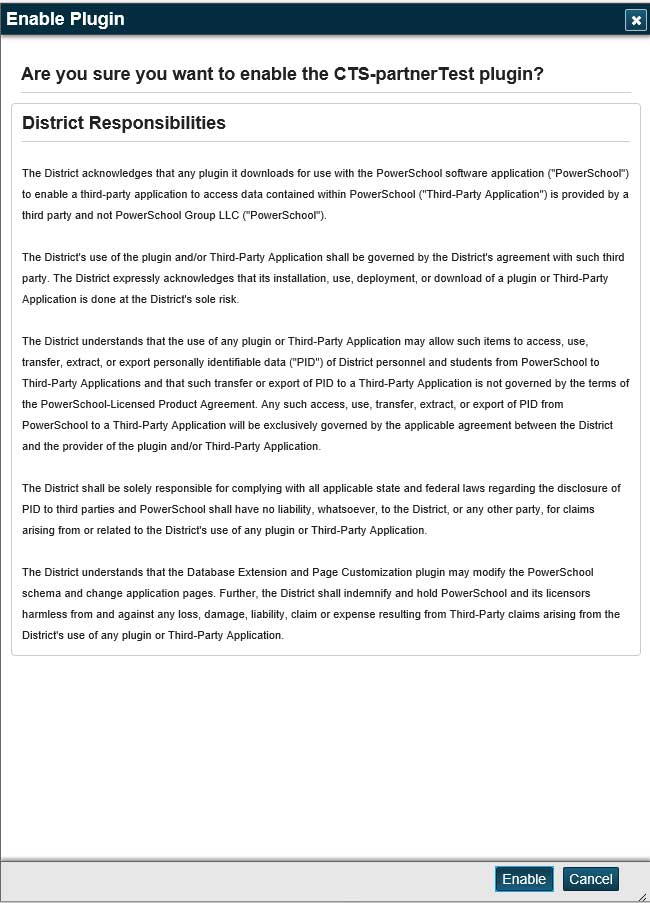
8 That opens up a side bar that confirms you will give the 3rd party plugin access to your data. Select Enable at the bottom of the form:

9 At that point your plugin is installed. If the plugin creator needs access to the API to integrate your data, click on the name of the plugin. It will take you to a Summary page of the plugin. On that page, select Data Configuration. That page contains a ClientID and ClientSecret. Securely send that information to the partner, and they will use that to access your data. If you ever want to prevent them from accessing your data, simply uncheck the enable box, and they will no long have permission to access to your data.
PowerSchool Insights & News
CTS Now Offers Services for PowerSchool Products at a lower rate!
Capitol Tech Solutions is now able to offer our high-quality PowerSchool customization and training services at a new lower rate. Our team has over...
Capitol Tech Solutions Achieves PowerSchool Unified Classroom Training Certification
Capitol Tech Solutions SIS Division recently achieved certification for PowerSchool Unified Classroom Training. This certification broadens...
Top 5 PowerSchool Administrator Best Practices
Take advantage of powerful tools for your school district by implementing these PowerSchool best practices. PowerSchool is a powerful platform that...


